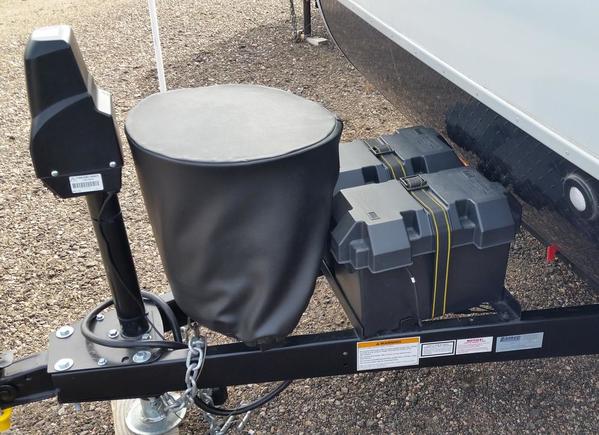
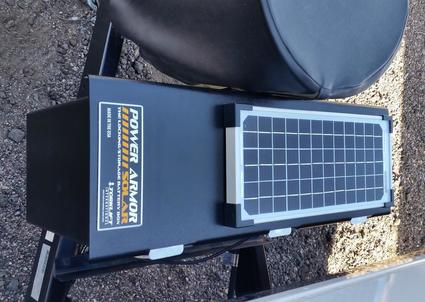
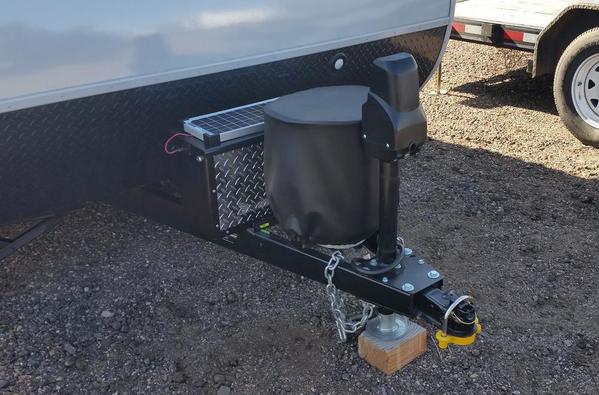
A short while back someone asked what mods we would be looking to make in 2016. I mentioned I would like to make secure my two 12v Interstate batteries that are sitting on the tongue of our 1575. Shortly afterwards I was contacted by Kerstin at Torklift International who asked if I would like to evaluate one of their PowerArmor products for free. Of course I was more than happy to do so. I know that Plance has already documented a similar install but wanted to share my experience. Hopefully anyone considering purchasing a PowerArmor product will find it useful.
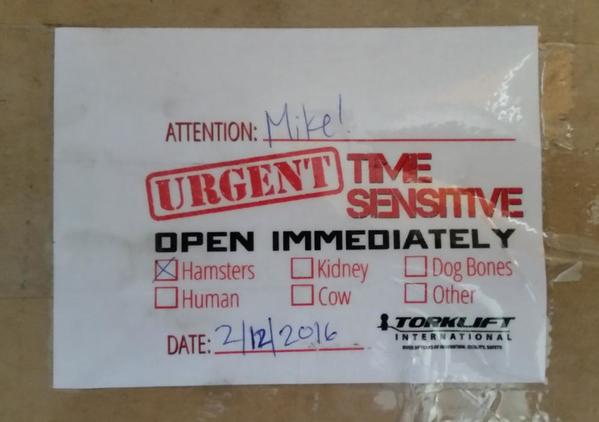
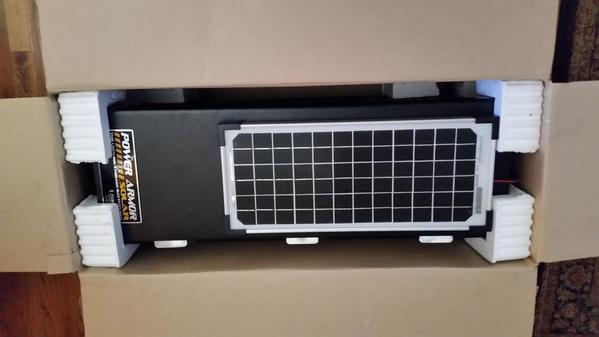
Within a few days the PowerArmor Solar arrived well-packaged and laughingly labeled “Hamsters”.
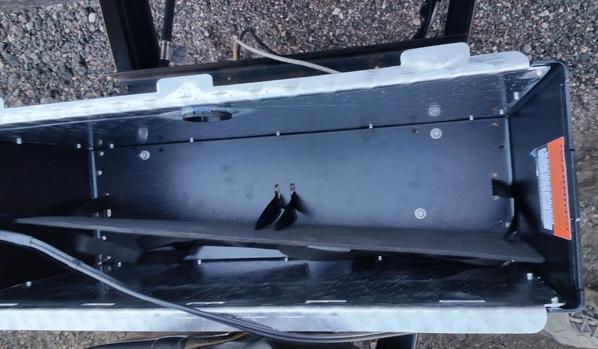
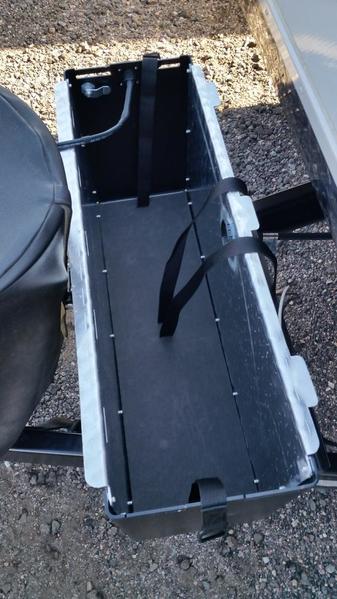
In the box was the PowerArmor box and lid with a 10w solar panel attached, instruction manual, products leaflet, optional brackets, fused connector for the solar panel, corrosion-proof matting, two battery securing straps and a pack of screws bolts and washers.
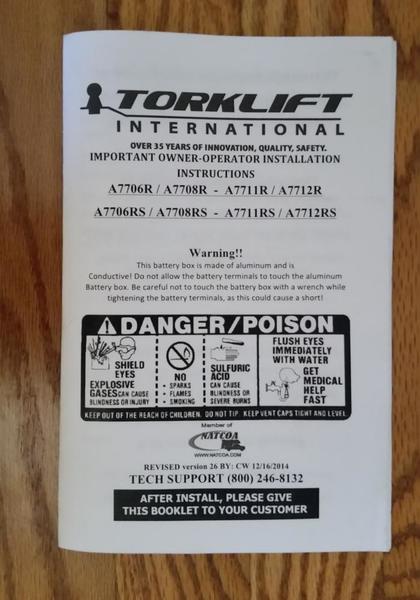
My first task was to read the instruction manual cover to cover. This didn’t take long and soon I had chosen the installation option I would be using. Option 1 was to mount on top of the A-frame, option 2 was mounting on top of the A-frame using the angle extension brackets, option 3 was to mount in the factory battery box location between the rails and option 4 was mounting in the factory battery box location above the rails. I would be using option 1. My rails were too far apart due to the orientation of my batteries.
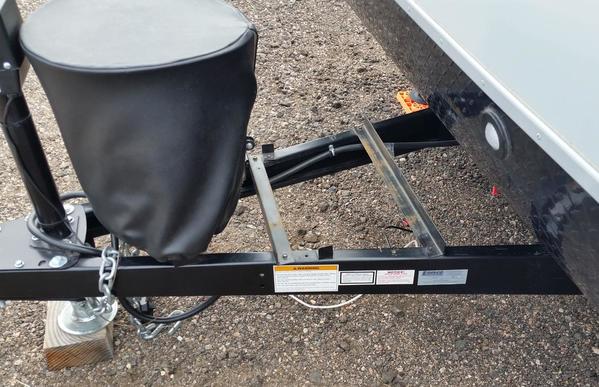
First I removed the existing two standard battery boxes from the A-frame and also removed two small L-shaped tabs that were on either side that would be in the way. Following the instructions I made the required cuts in the corrosive-resistant matting and threaded the battery retaining straps through making sure they were positioned so the buckles would be on the top.
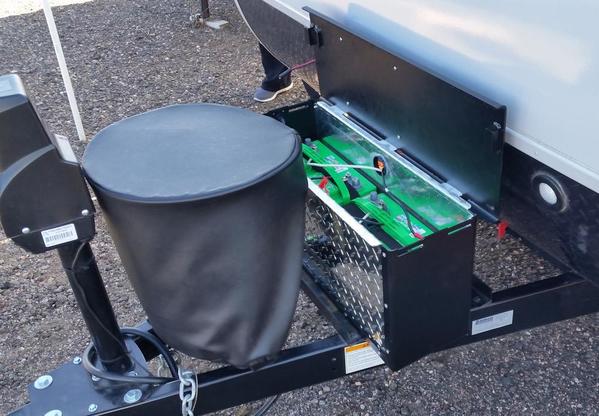
I wanted to drill as few holes as possible so checked to see if there were any I could re-use. There were two at the front that would work so placing the PowerArmor on the A-frame, making sure it was straight and in the middle, I marked the positions on the underside of the box and then drilled them out. I then used the self-tapping screws to secure the box to the A-frame at the front. I then drilled the two rear holes through the box and into the A-frame and screwed in the two rear self-tapping screws. The PowerArmor was now securely fixed to the frame.
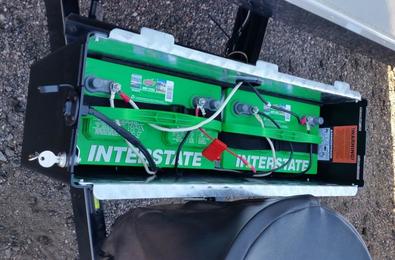
Next I placed the two batteries into the box and secured them with the straps and then attached the power cables. The cables from the camper go through a round hole at the back of the PowerArmor. In the picture below you can see the solar panel SAE connector and the locking mechanism.
I have left the old battery box rails in place for now rather than expose the holes.
My overall experience with the installation is very positive with only having to drill twice into the A-frame. It was a very easy process. The PowerArmor itself appears well made and has a very practical design. The solar panel on top is a nice touch and will help to keep the batteries charged. The batteries and wiring are all now out of sight giving a nice neat appearance to the front of the trailer. I now have one less thing to worry about when we wander off on one of our hiking adventures and leave the trailer all alone!
Thanks to Kerstin at Torklift International for giving me the opportunity to try out their product. Here’s a link to the PowerArmor pages on their website:

